
One of the key benefits to using a Virtual Learning Environment, like QMplus, is the variety of ways in which content can be made interactive for students. QMplus allows you to embed content from applications like Articulate Storyline that are designed specifically for creating engaging eLearning content.
Omniplex, a London-based Articulate partner, recently hosted an ‘eLearning Community Event’ for users of the software to share new ideas and best practice. The focus of the event was to improve online solutions for computer applications training. Demos were presented by freelance eLearning designer Karen Herbst and TfL’s SAP manager Liz de Saulles.
Below are a few ideas that would be valuable for anyone wanting to share screencasts in an eLearning environment.
Using Camtasia and Articulate
Screencasting is a great way to demonstrate complex tasks by recording every action on your computer’s screen, including audio narration and video capture. While Articulate does have its own screen capture capabilities, software like Camtasia can be more effective with advanced tools for editing and annotating to your videos.
One of the recommendations from the event was to use Camtasia for creating high quality screencasts and then embed them into an Articulate presentation. After editing your Camtasia video and exporting it, you can use Articulate’s ‘Insert’ function to add media to your project.
High resolution video is necessary for effective screencasting because you are often capturing applications with small text, menus, and icons. The problem is that Articulate compresses your video, reducing the overall file size, when publishing a project for the web. Here are a few tricks for uploading your videos in Articulate without losing quality.
Export from Camtasia in HD
Before worrying about how Articulate might compress your videos, you have to start with a high quality video file. When exporting your screencasts from Camtasia ensure that you are using export settings that will not degrade the quality of your project. Using a minimum of 720p will ensure that small text and icons are visible to the viewer. Make sure that you watch your exported video to determine if the quality is acceptable. The trick is to find a suitable balance between video quality and file size.
Change the Compression Settings
Upon importing your video into Articulate, additional options can be accessed at the top of your screen by simply clicking your video. The ‘Video Tools’ panel will appear at the top of your screen, which has an option titled ‘Compression’. Change this setting from ‘Automatic’ to ‘None’.

Adjust Articulate’s Publishing Settings
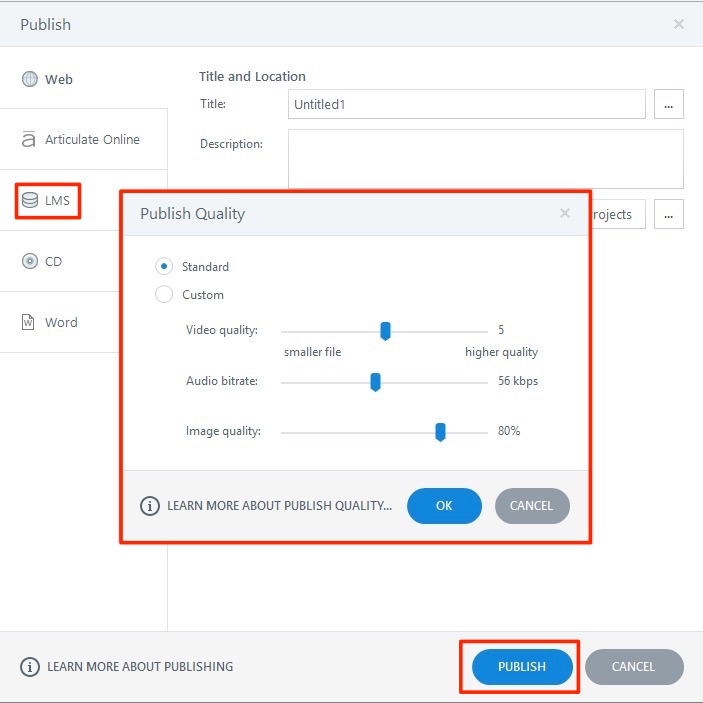
To reduce the overall size of the project, Articulate will compress video and images before exporting for the web or QMplus. You can adjust the export settings so compression is less noticeable. In your ‘Publish’ settings panel there is an option to adjust media quality under ‘Properties’. Select this and you be presented with the options below, where you can adjust the sliders to maintain media quality.
Replace your Media in the .ZIP File
If you have tried the methods above and Articulate is still compressing your videos to an unacceptable level, you can completely replace the compressed media files within the .ZIP file before uploading it to QMplus.
- Publish your Articulate project using the ‘LMS’ options to create a SCORM package for QMplus
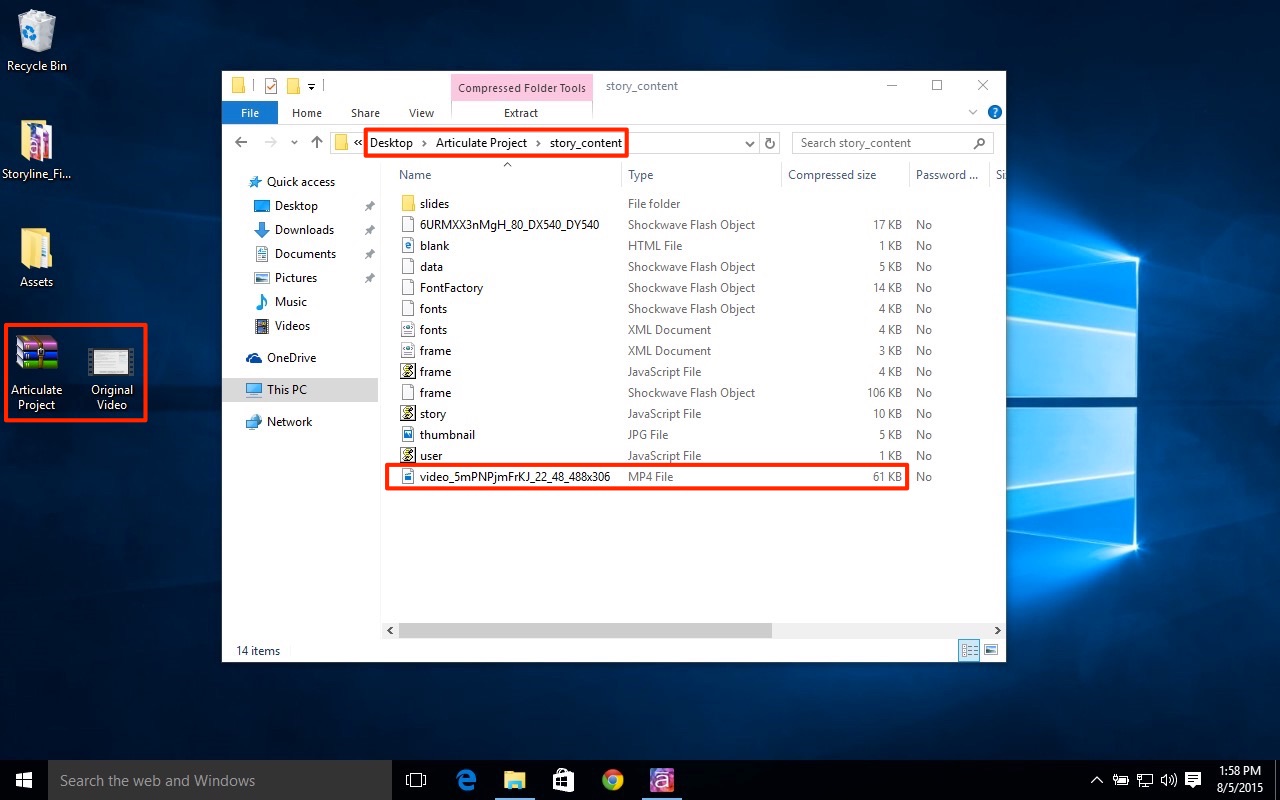
- Open the .ZIP file that has been created and then open the ‘story_content’ folder to see all of the project’s associated media files
- Rename your original video from Camtasia to match the video file in your Articulate folder
- Drag your original video into the folder and choose ‘Replace’
- Upload your .ZIP into QMplus as a SCORM package and your high-quality video will be in the Articulate presentation
Embed your Media on Slide 5 or Higher
Using high quality media can make your Articulate projects load slower for the viewer. To prevent students from simply abandoning your Articulate presentation while it is loading, you can move your high quality media to slide 5 of your project or higher. Articulate initially loads the first 4 slides of a project before displaying. By moving your larger files further into your projects you can reduce the initial load time for students, allowing them to view the first few slides of your project while the remaining content loads in the background.
Sources:
Articulate Storyline Product Page
Camtasia Product Page
Omniplex eLearning Community Events
