
Creating & Managing a Group

For: Staff and StudentsApplication: QMplus HubTagged: Discussion , groups , QMplus Hub
QMplus Hub is a separate area within QMplus which enables both students and academics to set up private or public groups. Examples of private groups include students who want to share work with their tutor or students collaborating on a specific project who might only want to share information amongst themselves rather than the whole class. Groups can also be used to share a template page with students.
This guide will cover the following:
- Creating a Group
- Creating a forum post
- Invite other people to join your Group
- Manage how forum posts are received
It assumes you know:
Step 1: Creating a Group
-
- Make sure you are logged into QMplus Hub. From the dashboard, click on the main menu option. From the Engage drop down select Groups.
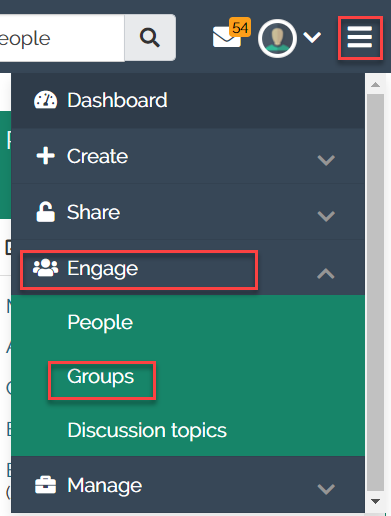
- Click on the Create Group option.

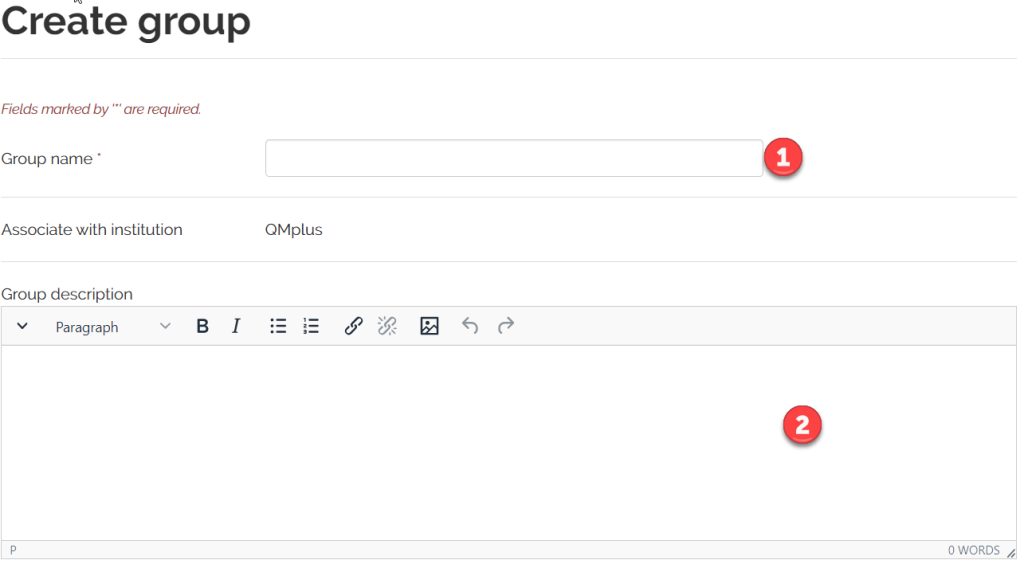
- Give your group a name and add some description about the group.
- Specify the settings for accessibility on your group. (Note: By default anyone can join your group without the request being approved by the group admins. You may wish to disable this setting.)

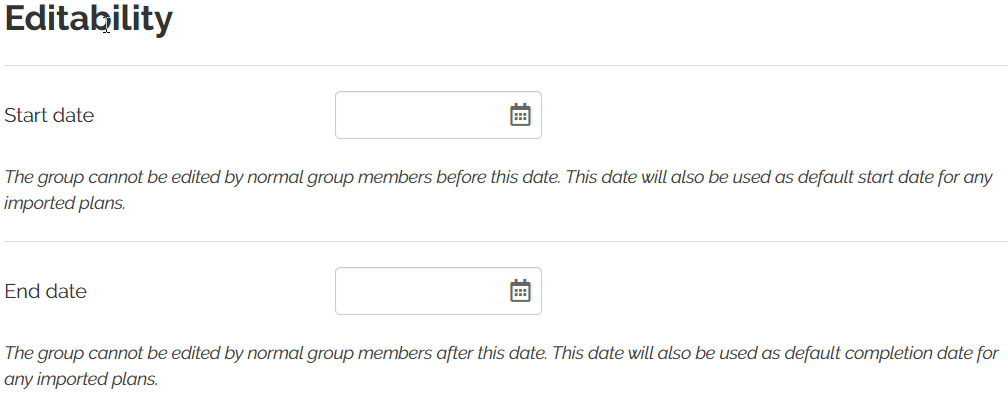
- Specify the editing rights for your group. You may wish to enter a start and end date for your group.
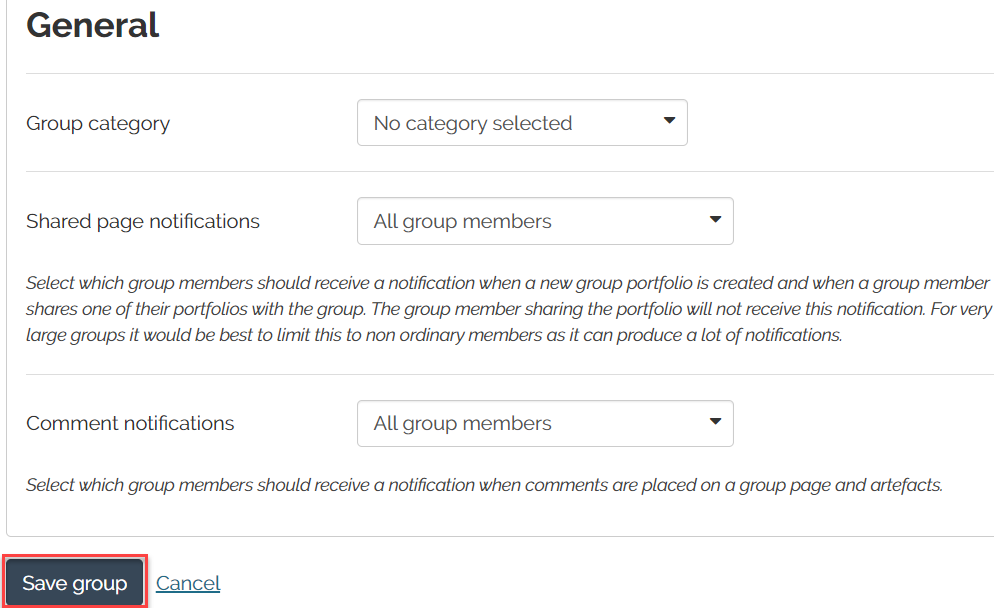
- Specify the visibility of your group. Click Save Group before exiting.
- Make sure you are logged into QMplus Hub. From the dashboard, click on the main menu option. From the Engage drop down select Groups.
Once you have saved the group you will be taken to the group homepage.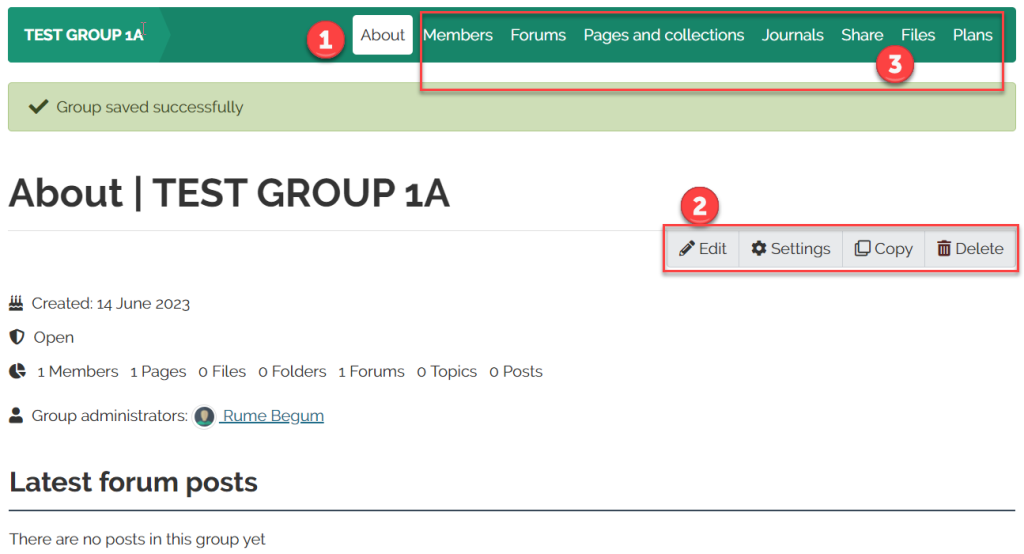
- Group homepage:
- Check that your group has been saved successfully
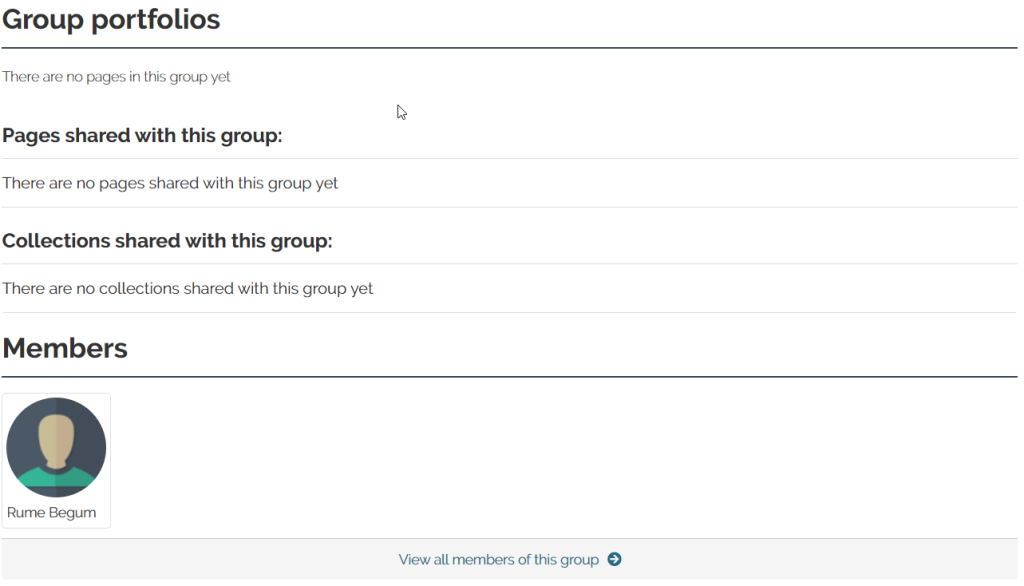
- On this page, you will get an overview of the members you have in this group, the portfolios that have been shared with the group and posts that have been submitted to the group.
- Once the page has been created, the following editing options are available:
- Edit: allows you to decide what content you want to display on your group homepage.
- Settings: allows you to modify settings that you need to.
- Copy: allows you to make a copy of the group with the same settings.
- Delete: allows you to delete the group.
- As a group admin you can do the following on the group:
- Members : allows you to start inviting members.
- Forums: allows you to create a post in the group forum.
- Pages and collections: allows you to group create pages or templates.
- Journals: allows you to create your post in a group journal.
- Share: allows you to change the editing access for the group portfolios. (By default all portfolios created in a group are shared with all group members)
- Files: allows you to upload files to the group.
- Plans: allows you to add plans for the group.
Step 2: Creating a Forum post
Navigate to QMplus Hub, click on the Engage dropdown menu and select Groups. Alternatively you might find your group in the right-hand block of the dashboard.
-
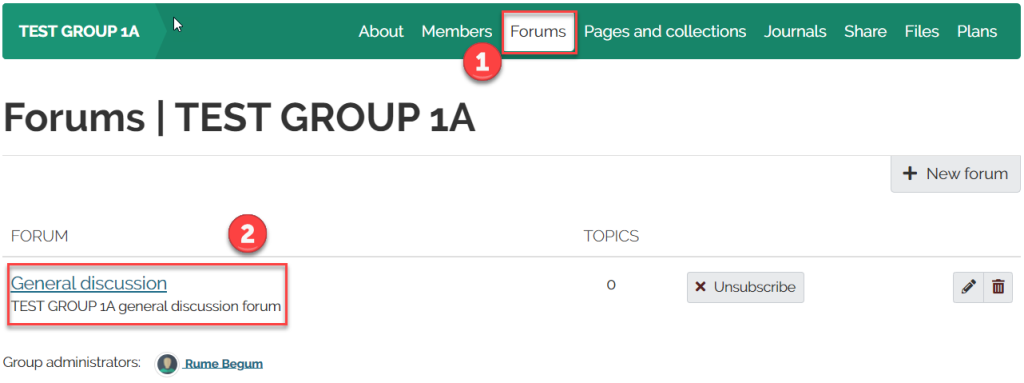
- Click on the relevant group & click on the Forums tab in the group menu.
- Then Click on General discussion.
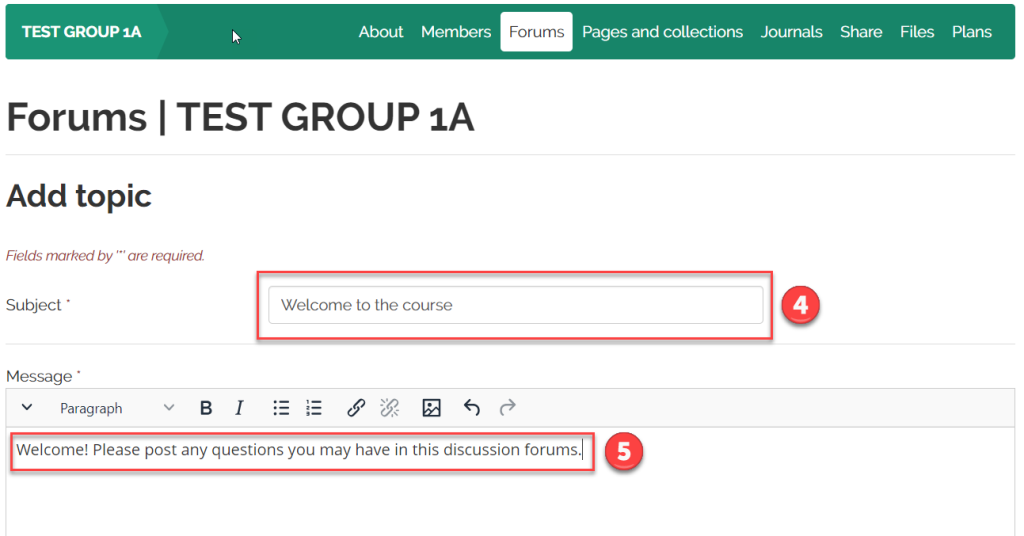
- Click on NEW TOPIC.
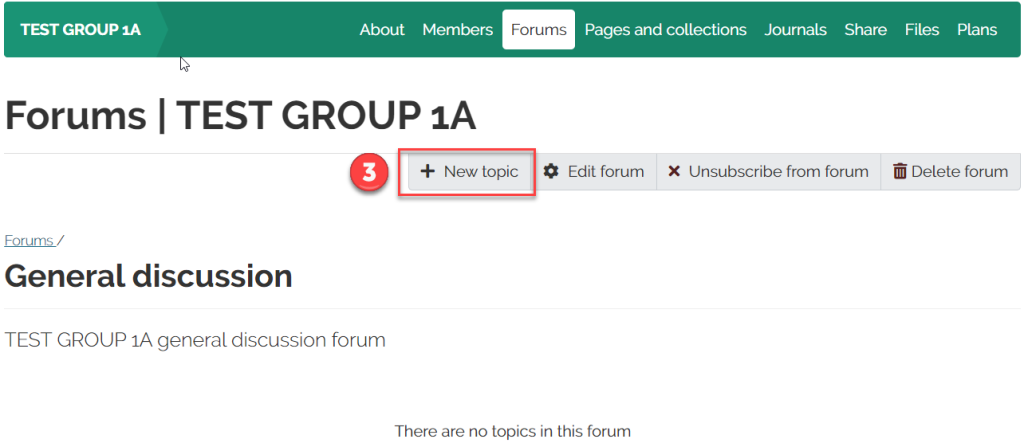
- Add a subject to your post
- Add the content of your forum post
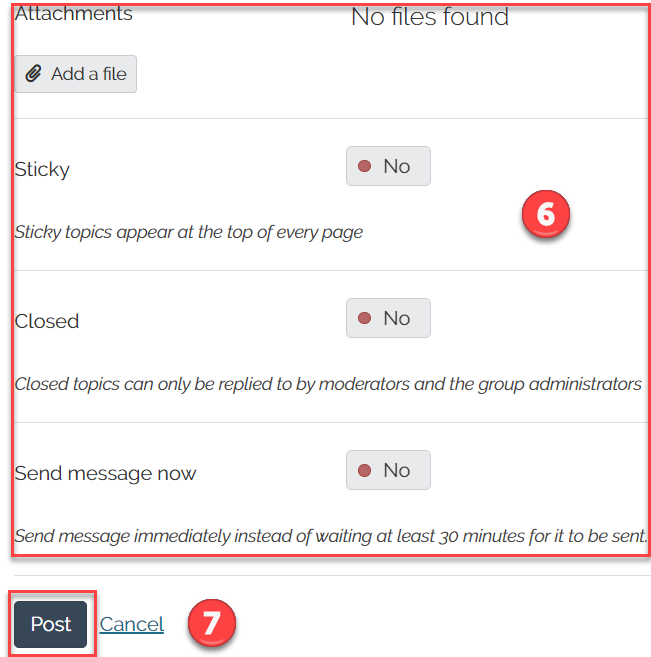
- Decide:
- If you would like to add attachments
- If you want the topic to be ‘sticky’ i.e. appear at the top of all topics in the thread
- If you want to receive any further replies or not
- If you want the message to be posted immediately (rather than a 30 minute delay)
- Click POST.
Step 3: Manually inviting people to join your group
-
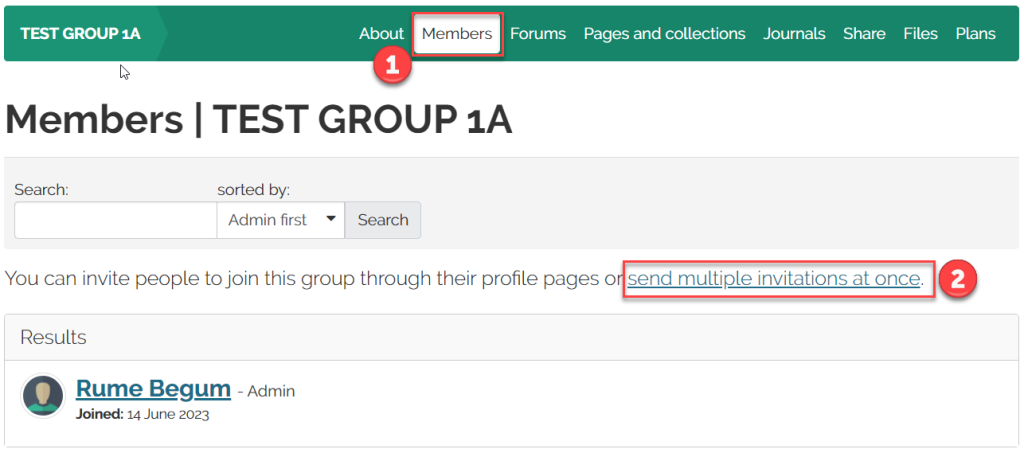
- Select the group in question & click on the Members tab.
- Click on send multiple invitations at once.
-
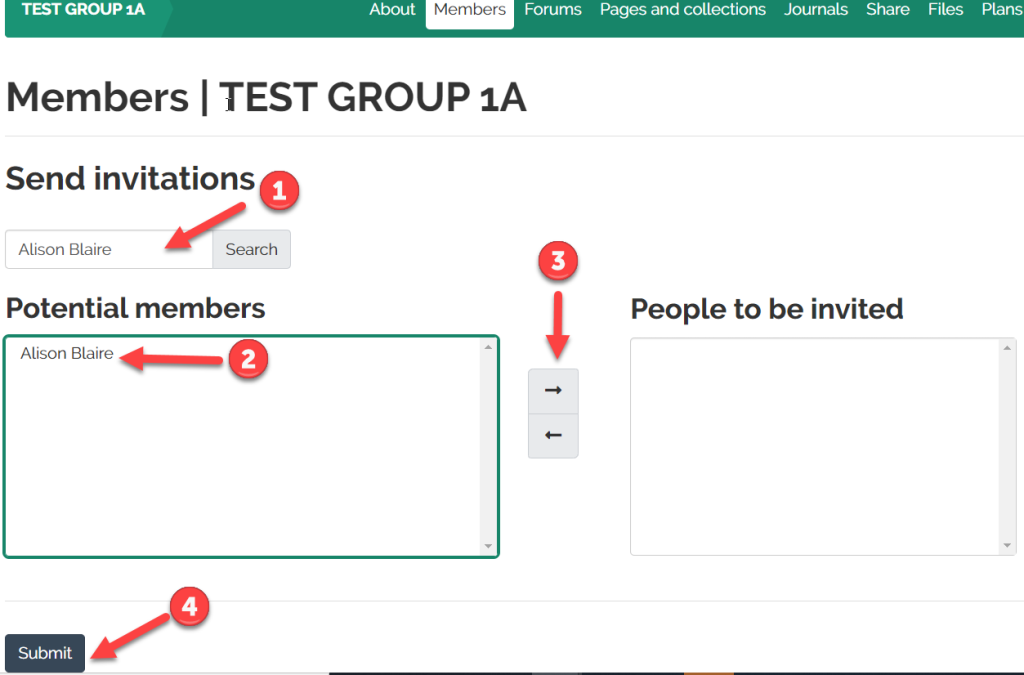
- Type in the name of the person you would like to add and click search.
- Select by clicking on their name in the box the person/people you would like to add
- Click on the arrow button (>). The name will move over to the ‘people to be invited’ box. Repeat these steps for all the people you wish to invite.
- When you have finished adding people to be invited Click SUBMIT. Your invitees will either be automatically emailed an invitation link or they will be enrolled in the group depending on your group settings.
Pending members can be viewed under the invites link: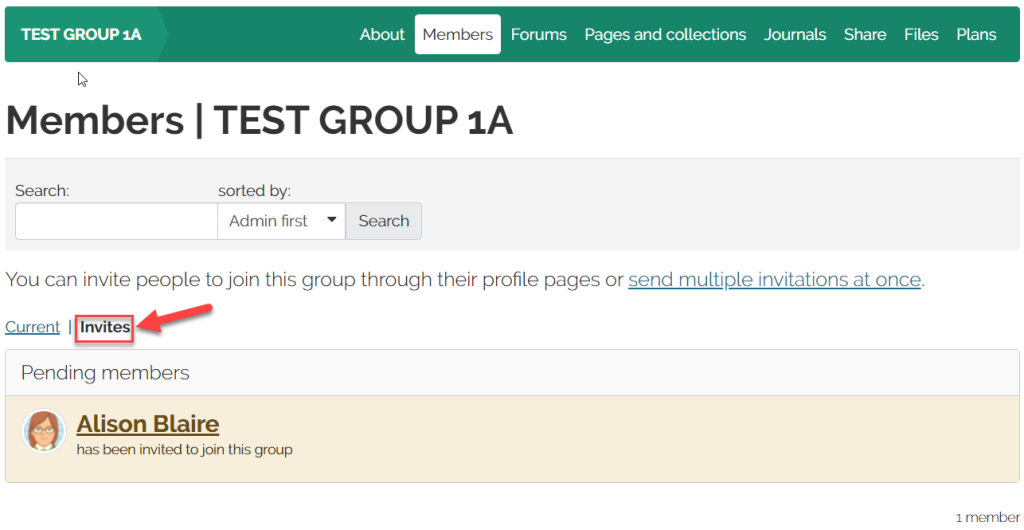
Step 4: Managing how Forum posts are received
Forum posts are automatically emailed to all those in the ‘Group’. In order to limit the number of emails you receive, you can choose to receive all forum posts as a single daily email update. This is known as an ‘Email digest’. For instructions and guidance, click here.
Did this answer your query? If not, you can raise a ticket on the online Helpdesk or email: its-helpdesk@qmul.ac.uk . Alternatively you can also request a particular guide or highlight an error in this guide using our guides request tracker.
Produced by the the Technology Enhanced Learning Team at Queen Mary University of London.
Related items
