
Course creation and Settings: How to backup and restore a course (Admin)

For: StaffApplication: Administering your moduleTagged: Administrators , backup
This guide is for QMplus Course Administrators and covers:
- Creating a course backup file
- Restoring from a backup file
Required permissions – Relevant course administrator from department(s) of original course and duplicated course.
Required knowledge – Course administration (QMplus/Moodle)
Step 1: Creating a course backup file
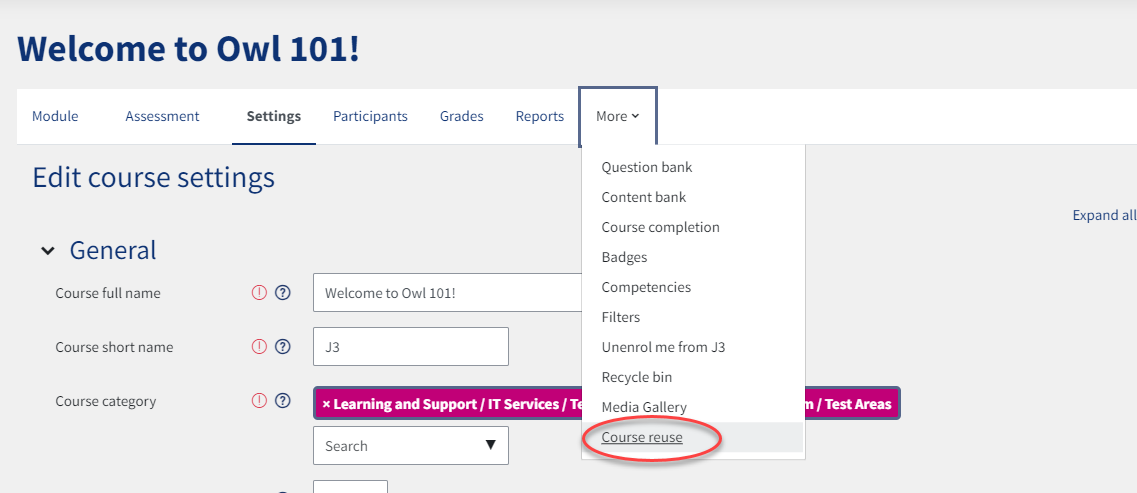
- Within the course page you wish to backup please select more in the navigation bar
- Select Course reuse
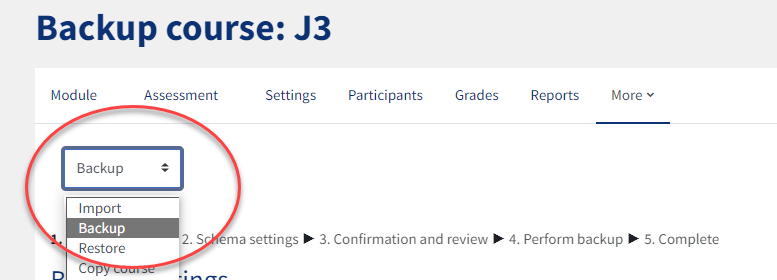
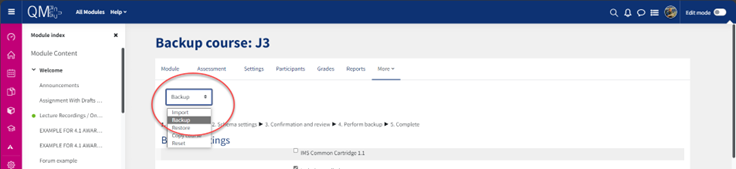
- On the next screen select Backup from the drop down menu
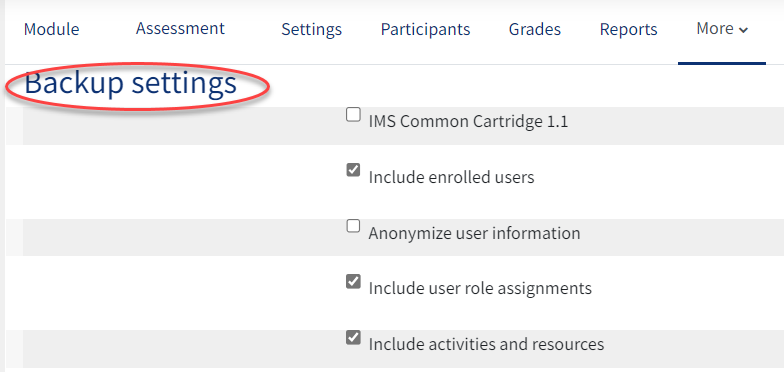
Leave the default Backup Settings as they are. Here you have two options:
1-Click on ‘Jump to final step’ which will skip schema settings and confirmation and review page and take you directly to the perform backup page.
2- Click on ‘continue’ to see the schema settings page.

Schema settings (content filter)
- Leave as is (by default, all content is selected for the backup). Click Next.
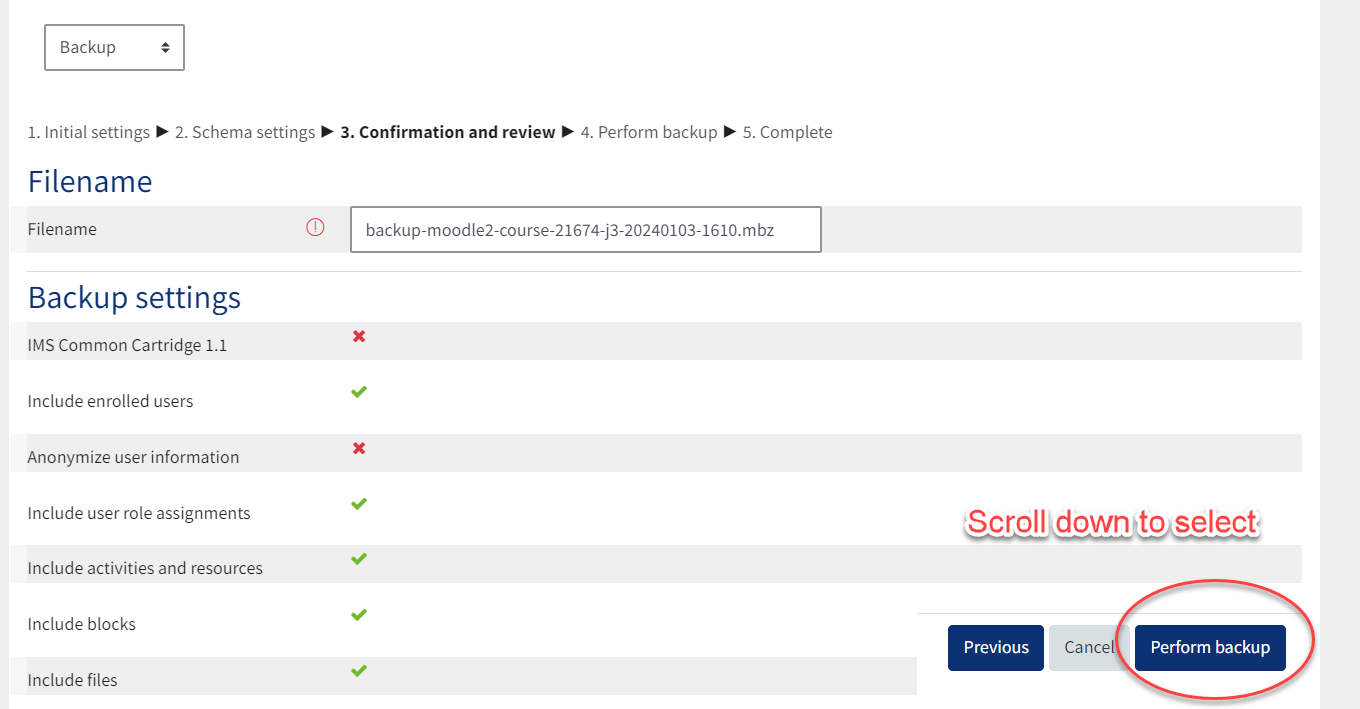
Confirmation and review (backup filename)
- Check settings are correct and the filename, scroll down (use ‘previous’ if changes are needed), then click ‘perform backup’.
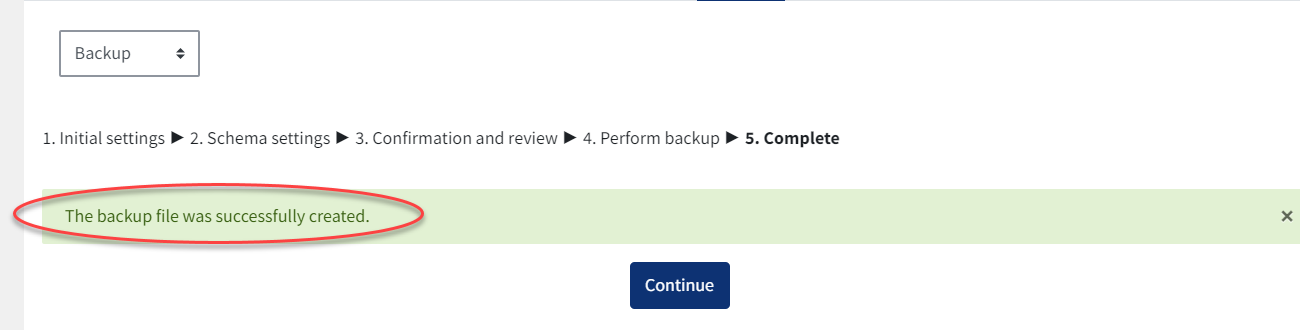
Confirmation screen
- When presented with the confirmation screen, click Continue.
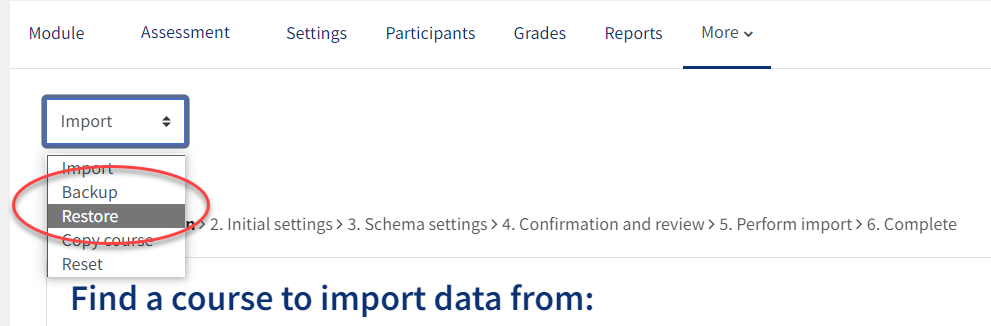
Step 2. Restoring from backup file
- Within the course page you wish to backup please select more in the navigation bar
- Select Restore
Settings > Course administration (1) > Restore (2)
- Find the relevant backup file listed in the ‘Course backup area’ and click ‘restore’.
Backup details/Settings (Course content overview)
- Review the content of the backup file and then click ‘Continue’
Restore Options:
There are three options to restore a course.
- Restore as a new course – this allows you to create a duplicate course
- Restore into this course- this allows you to merge or overwrite the course you are in with the backup file.
- Restore into an existing course- this allows you to merge into a different existing course or overwrite the course.
The first option allows you to create a duplicate course. Select the correct category to place the duplicate course in (if not listed, you can search for this using the search bar). If you would like to use the other two options follow the same process.
NOTE- Ensure that you have the permission of the relevant course administrator..
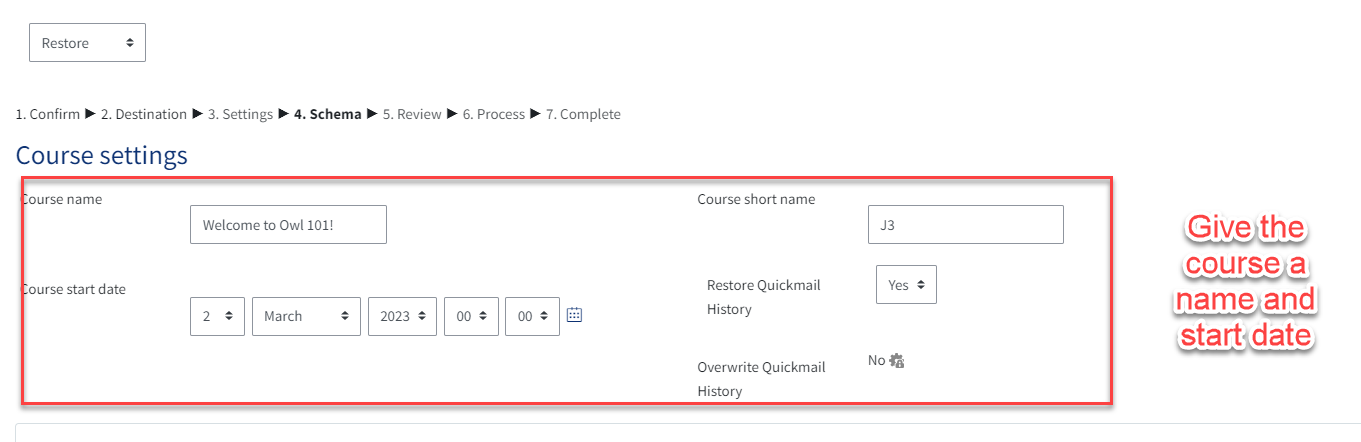
Settings
- Confirm areas for restore (default all selected), then click Next.
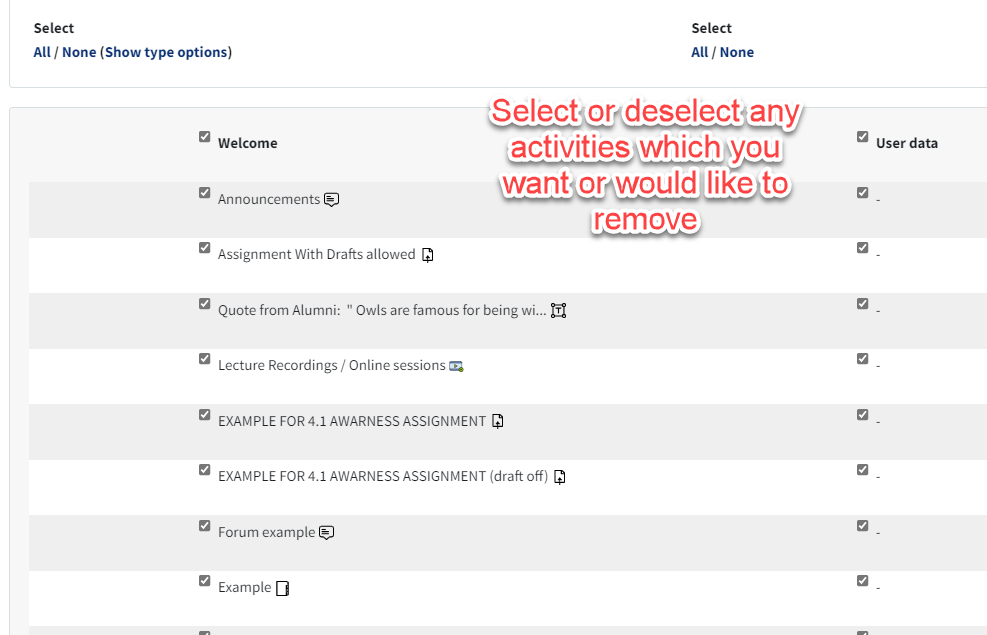
Schema
- Confirm elements/components for restore (by default all are selected), then click ‘Next’.
![]()
Review
- Check restore settings (if corrections are needed use ‘Previous’).
- Click ‘Perform Restore’.

Complete
- Click ‘Continue’ to view restored course.

Did this answer your query? If not, you can raise a ticket on the online Helpdesk or email: its-helpdesk@qmul.ac.uk . Alternatively you can also request a particular guide or highlight an error in this guide using our guides request tracker.
Produced by the the Technology Enhanced Learning Team at Queen Mary University of London.
Related items
